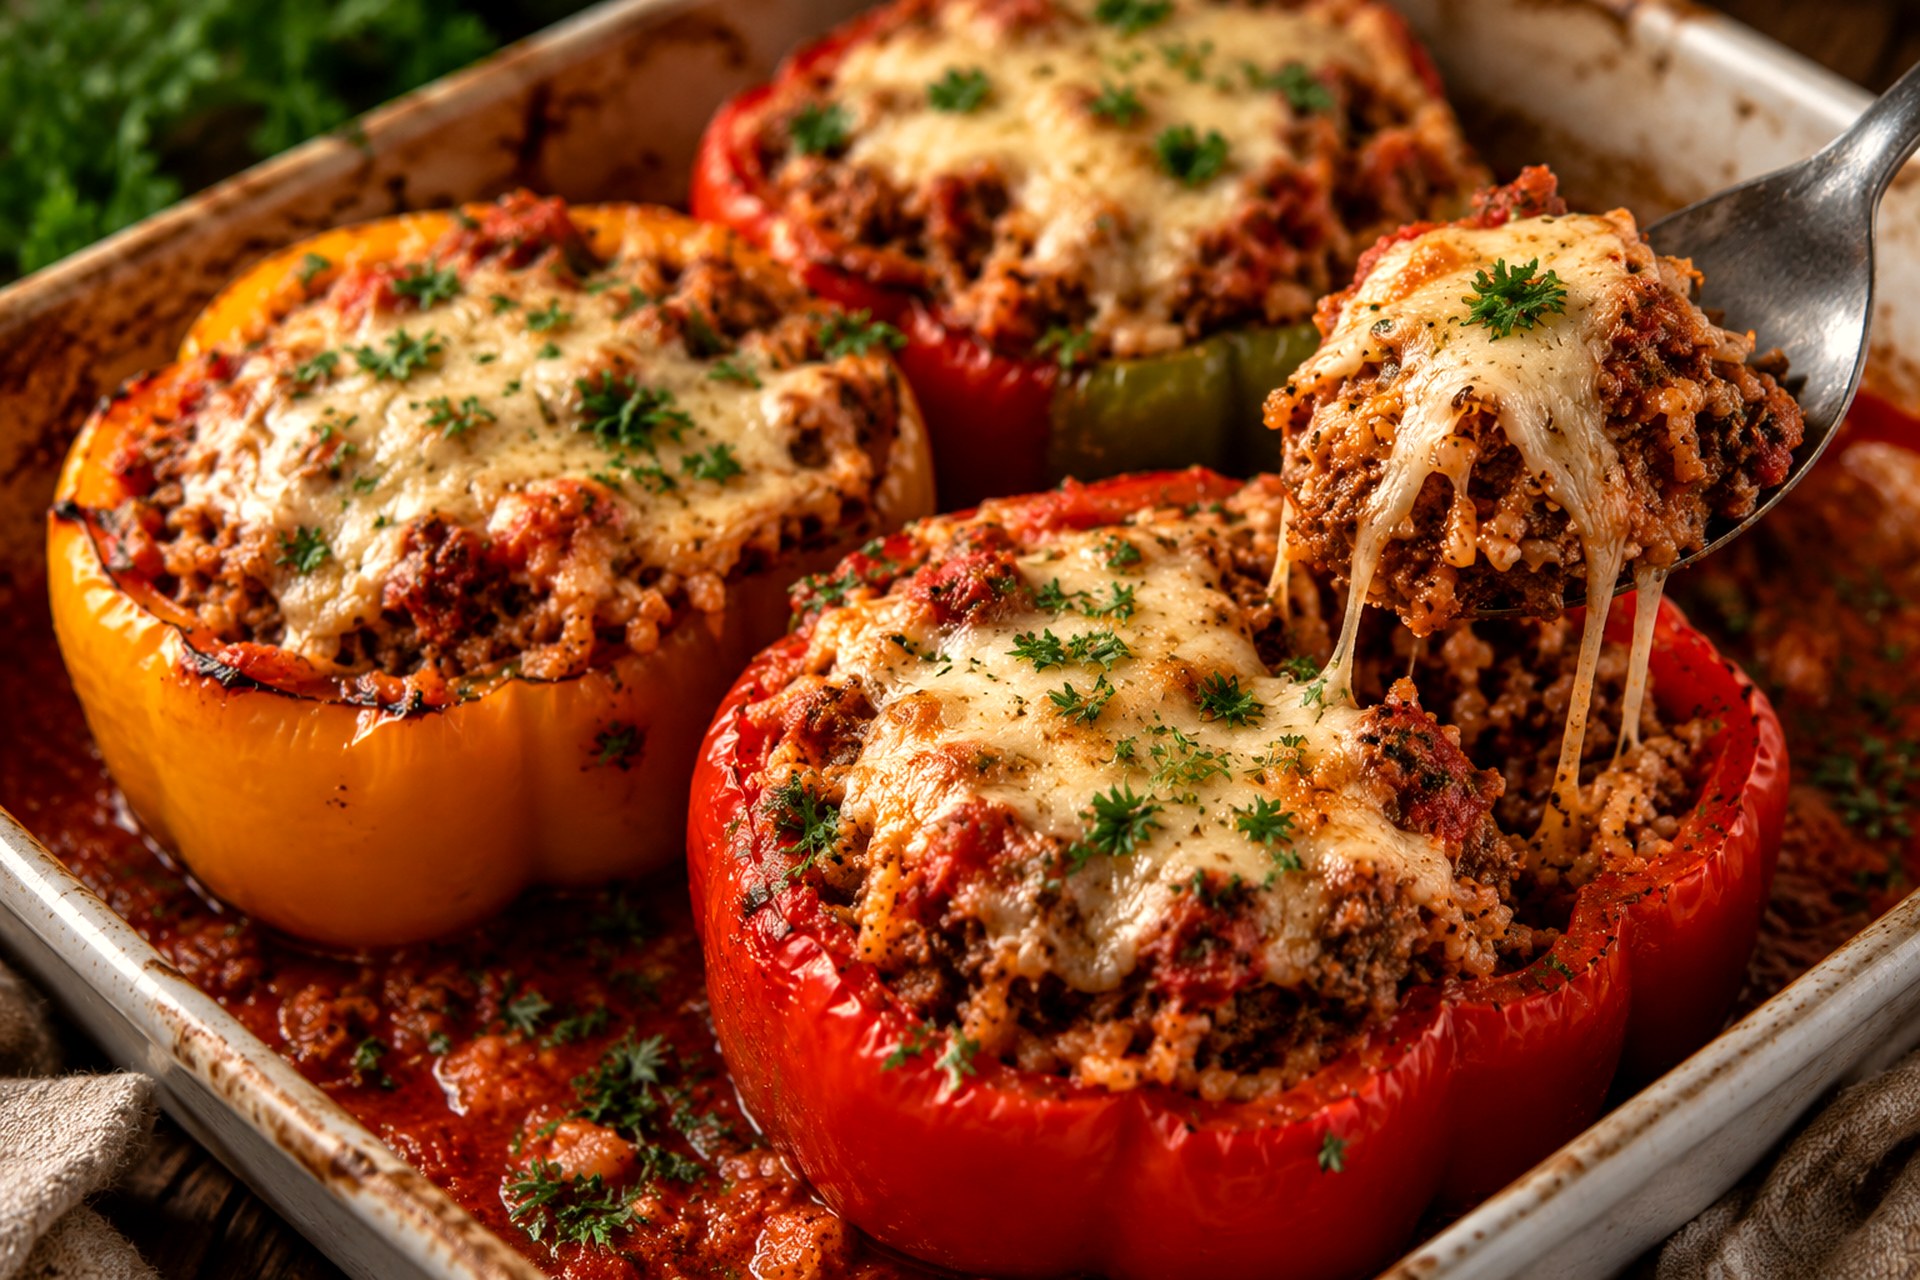
There are dinners that simply never leave our family table, and these cheesy stuffed bell peppers are right at the top of that list. I still remember the first time I made them on a chilly weeknight years ago: six glossy peppers lined up in my biggest baking dish, filled to the brim with savory beef and fluffy rice, bubbling away in tomato sauce under a blanket of melted mozzarella. The smell alone — sweet peppers, garlic, warm paprika — had everyone drifting into the kitchen long before I called them to eat.
Since then, this has become my go-to recipe whenever I want a complete, comforting meal that practically serves itself. Each pepper is its own little portion of protein, vegetables and grains, with that irresistible cheese pull on top. It looks impressive enough for guests, yet it is wonderfully simple to put together on a busy evening — and my family asks for it again and again.
Why You’ll Love This Recipe
- A complete meal in every pepper: tender pepper, seasoned beef, fluffy rice, tomato sauce and melted cheese — protein, vegetables and grains all in one neat, satisfying serving.
- Family-friendly and mild: the flavors are warm and familiar without any heat, so kids and adults happily eat the same dinner — no separate meals needed.
- Perfect for meal prep: these peppers keep beautifully in the fridge, freeze like a dream, and reheat without losing their texture, which makes them ideal for batch cooking.
- Budget-friendly ingredients: everything comes from a short list of everyday staples — peppers, ground beef, rice, tomato sauce and mozzarella — so dinner stays delicious and affordable.
- Easy to customize: swap the protein, change the grain, add vegetables or turn up the heat; the recipe welcomes your variations (see my ideas below).

Cheesy Stuffed Bell Peppers with Seasoned Ground Beef, Fluffy Rice and Melted Mozzarella
Ingredients
Method
- Preheat the oven to 375°F (190°C). Lightly grease a 9×13-inch baking dish.
- Slice the tops off the peppers, remove the seeds and membranes, and trim the bottoms slightly if needed so the peppers stand upright.
- Heat the olive oil in a large skillet over medium heat. Cook the onion for about 4 minutes, until softened.
- Add the garlic and cook for 30 seconds, until fragrant.
- Add the ground beef and cook until browned, breaking it apart as it cooks. Drain the excess grease.
- Stir in the tomato paste, 1½ cups of the tomato sauce, Italian seasoning, paprika, oregano, salt and black pepper. Simmer for about 5 minutes.
- Stir in the cooked rice until evenly combined.
- Spoon a little of the remaining tomato sauce into the bottom of the prepared baking dish.
- Fill each pepper generously with the beef and rice mixture and stand the peppers upright in the dish.
- Spoon the remaining tomato sauce over the tops of the peppers.
- Cover the dish with foil and bake for 35 minutes.
- Remove the foil, sprinkle the mozzarella over each pepper, and bake uncovered for 10–15 minutes, until the cheese is melted and lightly golden.
- Garnish with fresh parsley and serve hot.
Tips from Chef Lea
Choose peppers that can stand up straight. I look for large, wide peppers with a fairly flat bottom and similar sizes, so they bake evenly and hold a generous amount of filling. If one wobbles, I shave the tiniest slice off the base — just enough to level it without cutting through into the cavity, or the filling will leak out as it bakes.
Drain the beef and let the filling simmer. Peppers release juice as they bake, so a wet filling means watery peppers. I brown the beef well, drain off every bit of excess grease, then simmer the filling for about 5 minutes after adding the tomato paste and sauce. It should look thick and glossy, not soupy, before the rice goes in.
Use rice that is just tender — or day-old rice. The rice keeps cooking inside the peppers for 45 minutes, so if it starts out fully soft it can turn mushy. I cook it until just tender, and honestly, leftover rice from the day before is my favorite here: the grains stay separate and fluffy.
Bake covered first, cheese last. I spoon a little tomato sauce into the bottom of the dish and bake the peppers covered with foil for the first 35 minutes; the trapped steam softens the peppers without drying out the filling. The mozzarella goes on only for the final 10–15 minutes, uncovered, so it melts into a golden, bubbly cap instead of turning tough.
Rest before serving. I let the dish stand for 5–10 minutes after it comes out of the oven. The filling settles, the cheese sets just enough to slice cleanly, and nobody burns their tongue on molten mozzarella — patience really pays off here.
Variations
- Turkey or chicken: swap the ground beef for ground turkey or chicken and add an extra pinch of paprika and Italian seasoning to keep the flavor bold.
- Vegetarian peppers: replace the beef with a drained can of black beans or 2 cups of cooked lentils, stirred into the rice with the same tomato sauce and spices.
- Low-carb version: use cauliflower rice instead of long-grain rice; stir it in raw and reduce the covered baking time by about 5 minutes, as it cooks faster.
- A little heat: add a finely diced jalapeño with the onion and swap the mozzarella for pepper jack cheese.
- Quinoa twist: use 2 cups of cooked quinoa instead of rice for a slightly nutty flavor and extra protein.
- Italian sausage: half beef, half Italian sausage (casings removed) makes the filling extra rich and savory.
Make Ahead & Storage
Make ahead: assemble the peppers completely — fill them and spoon the sauce over the top, but wait to add the cheese — then cover the dish tightly and refrigerate for up to 1 day. Bake straight from the fridge, adding about 5 extra minutes to the covered baking time, then add the cheese and finish as directed.
Refrigerator: let the baked peppers cool, then store them in an airtight container in the refrigerator for up to 4 days.
Freezer: wrap each cooled pepper individually in plastic wrap or foil, place them in a freezer-safe container or zip-top bag, and freeze for up to 3 months. Thaw overnight in the refrigerator before reheating for the best texture.
Reheating: for the oven, place the peppers in a baking dish, cover with foil, and reheat at 350°F (175°C) for 20–25 minutes, until steaming hot all the way through. For the microwave, place one pepper on a microwave-safe plate and heat for 2–4 minutes, until the center is hot.
FAQ
Do I need to precook the peppers before stuffing them?
No. With 35 minutes of covered baking plus 10–15 minutes uncovered, raw peppers bake up tender while still holding their shape, and that little bit of bite is part of their charm. If your family likes them very soft and silky, blanch the hollowed peppers in boiling water for 3–4 minutes first, then drain them upside down on a clean towel so no water is trapped inside before filling.
Why are my stuffed peppers watery?
It almost always comes down to moisture management. Peppers naturally release juice as they bake, so if the beef grease is not drained, the sauce is not simmered down, or the rice went in too wet, that liquid ends up pooling in the dish. Drain the beef thoroughly, simmer the filling until thick and glossy, and use just-tender rice. A short 5–10 minute rest before serving also lets the filling reabsorb some of those delicious juices — and any sauce left in the dish is wonderful spooned over the top.
Can I put uncooked rice in the filling?
Not with these proportions and baking times. Raw rice needs more liquid and more time than the peppers can give it, so it would still be crunchy when the peppers are done. Always start with cooked rice here — you need 2 cups cooked. If all you have is raw rice, cook about 3/4 cup of raw long-grain rice first and let it cool slightly before stirring it into the beef mixture.
Which bell peppers are best for stuffing?
Look for large, wide peppers with thick walls and a flat bottom so they stand upright and hold plenty of filling. Red, yellow and orange peppers are naturally sweeter and soften into a mellow, almost roasted flavor, while green peppers stay a little firmer and taste more savory. I love mixing colors — it makes the dish beautiful, and everyone gets to pick their favorite.
How do I know when the peppers are done?
The pepper should yield easily when pierced with the tip of a knife, the filling should be steaming and bubbling at the edges, and the mozzarella should be melted with light golden spots. For complete certainty, check the center of a pepper with an instant-read thermometer — the filling should reach 165°F (74°C).
More Dinner Recipes You’ll Love
- Creamy Garlic Mashed Potatoes — buttery, garlicky, and wonderful for scooping up every drop of tomato sauce.
- Classic Sage Stuffing — a cozy, herby side that turns stuffed peppers into a full comfort-food spread.
- Blackberry Ricotta Flatbread with Basil and Honey — a fresh, sweet-savory flatbread to start the meal or serve alongside.
Conclusion
These cheesy stuffed bell peppers are everything I want in a family dinner: colorful, hearty, and full of comforting flavor, with a golden cap of melted mozzarella on every single one. Whether you bake them for a busy weeknight, prep them ahead for guests, or stash a few in the freezer for a future no-cook night, I hope they earn a regular spot at your table, just like they have at mine.
Follow along for a new recipe every day: find me on Facebook at Lea Recipes Kitchen, on Pinterest at @learecipes, and on Instagram at @lea_recipes1. If you make these stuffed peppers, I would love to hear how they turned out — leave a comment below and give the recipe a star rating to help other home cooks find it. Happy cooking! — Lea

Leave a Reply