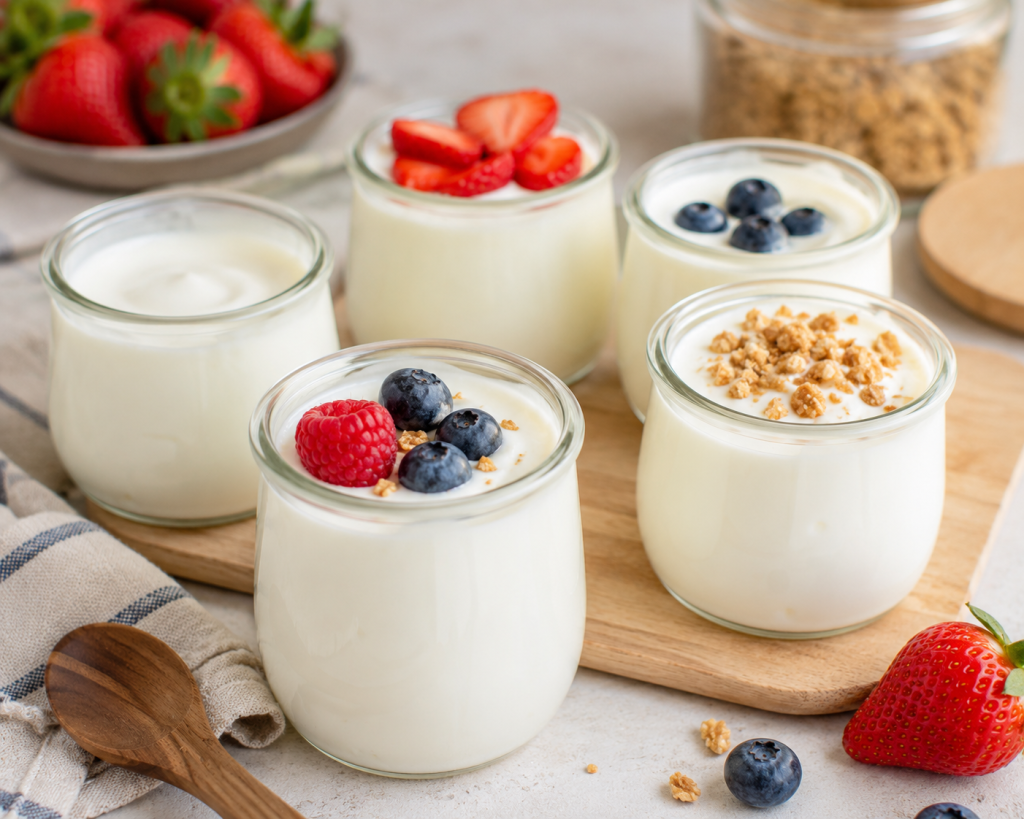
There’s something truly rewarding about making your own yogurt from scratch. With just two simple ingredients and a little patience, you can create a creamy, smooth, and delicious homemade yogurt that’s fresher, more affordable, and free from unnecessary additives. Whether enjoyed for breakfast, as a healthy snack, or used in both sweet and savory recipes, homemade yogurt is a kitchen staple you’ll find yourself making again and again.
Unlike many store-bought yogurts that may contain added sugars, thickeners, or artificial ingredients, this homemade version lets you control exactly what goes into every batch. The result is a naturally rich yogurt with a clean, fresh flavor that can be enjoyed plain or customized with fruit, honey, granola, nuts, or your favorite toppings.
One of the best things about homemade yogurt is its versatility. You can make it with whole milk for an extra creamy texture or use lower-fat milk for a lighter option. Once you’ve mastered the basic technique, you can even strain it to make thick Greek-style yogurt or use it as the base for smoothies, dips, marinades, dressings, and countless other recipes. Homemade yogurt requires only milk and a live-culture starter yogurt, with gentle heating and several hours of warm incubation to develop its signature creamy texture.
Although the fermentation process takes several hours, the hands-on preparation is surprisingly simple. After heating the milk, adding the starter culture, and allowing the mixture to incubate, the beneficial bacteria naturally transform the milk into creamy yogurt. Once chilled, you’ll have a fresh homemade yogurt that’s every bit as delicious as the versions found at the grocery store—and often even better.
Why You’ll Love This Recipe
- Made with only two simple ingredients.
- Creamy, smooth, and naturally delicious.
- Free from artificial flavors, preservatives, and unnecessary additives.
- Easy to customize with your favorite sweet or savory flavors.
- More economical than buying yogurt regularly.
- Perfect for breakfast, snacks, smoothies, baking, and cooking.
- Can be strained to make thick, creamy Greek-style yogurt.
- Rich in protein and live active cultures.
- Easy to prepare with or without a yogurt maker.
- A reliable homemade recipe you’ll want to make every week.
Ingredient Notes
Whole Milk
Whole milk produces the richest, creamiest yogurt with the smoothest texture. While low-fat or skim milk can also be used, the finished yogurt will be thinner and less creamy.
Plain Yogurt Starter
Use plain yogurt that contains live and active cultures. This starter introduces the beneficial bacteria that ferment the milk and transform it into creamy homemade yogurt. Choose an unflavored yogurt with no added sweeteners for the best results.
Milk Powder (Optional)
A few tablespoons of dry milk powder can be mixed into the warm milk before adding the starter. This optional ingredient helps create a thicker, creamier yogurt without changing the flavor.
Vanilla Extract (Optional)
If you enjoy lightly flavored yogurt, stir in a little vanilla extract after the yogurt has finished fermenting and chilling.
Honey or Maple Syrup (Optional)
For naturally sweetened yogurt, add honey or maple syrup just before serving. It’s best not to sweeten the yogurt before fermentation, as it may affect the culturing process.
How to Make Homemade Yogurt
Step 1: Heat the Milk
Pour the milk into a heavy saucepan and slowly heat it to 180°F (82°C), stirring occasionally to prevent scorching. This step helps improve the final texture by denaturing the milk proteins.
Step 2: Cool the Milk
Remove the saucepan from the heat and allow the milk to cool to about 110–115°F (43–46°C). If the milk is too hot, it can kill the live cultures.
Step 3: Mix in the Starter
Place a small amount of the cooled milk into a bowl and whisk it with the plain yogurt until completely smooth. Return this mixture to the saucepan and gently stir until fully combined.
Step 4: Incubate
Transfer the mixture to clean jars or leave it in the saucepan. Keep it warm at approximately 110°F (43°C) for 6–12 hours, depending on how tangy you like your yogurt. Avoid disturbing it while it cultures.
Step 5: Chill
Once the yogurt has thickened, refrigerate it for at least 4 hours. Chilling allows the texture to become firmer and creamier.
Step 6: Serve
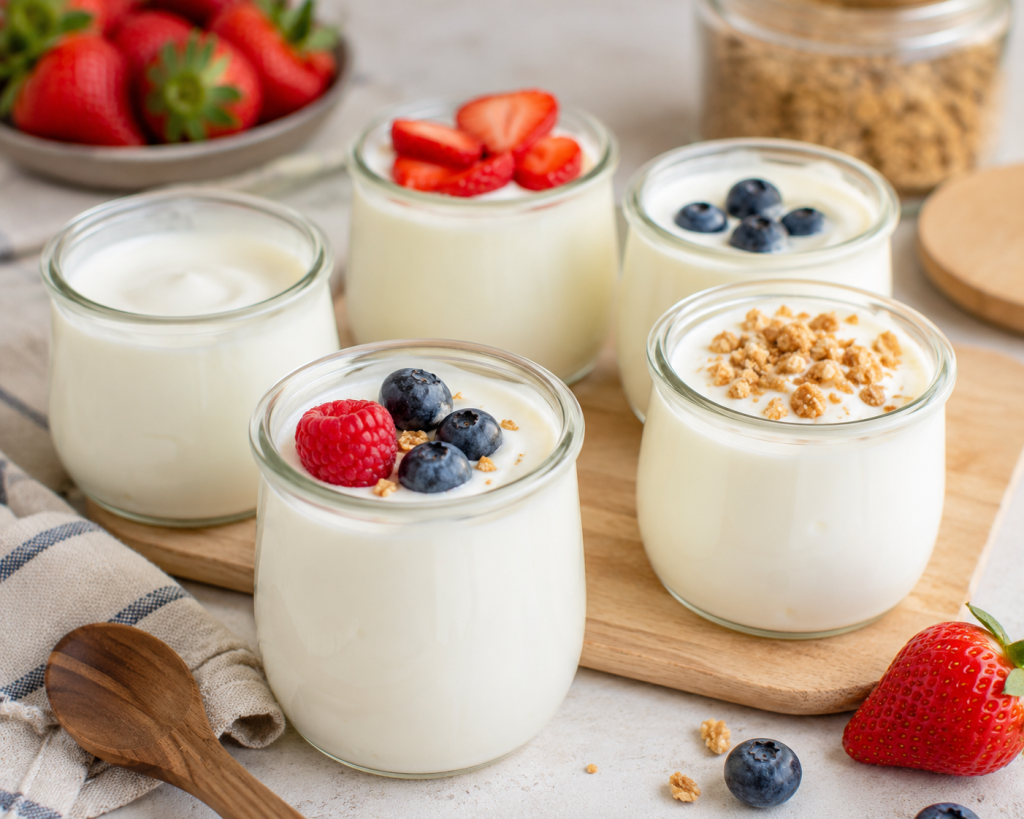
Enjoy the yogurt plain or top it with fresh berries, granola, nuts, honey, maple syrup, or your favorite fruit before serving.
Tips for the Best Homemade Yogurt
Use Fresh Milk
Fresh, high-quality milk produces the best flavor and the creamiest texture. Whole milk is recommended for rich, luxurious yogurt.
Check the Starter Yogurt
Always use plain yogurt that contains live and active cultures. Without active cultures, the milk won’t ferment properly.
Don’t Skip Heating the Milk
Heating the milk to 180°F (82°C) helps create a thicker, smoother yogurt by changing the milk proteins.
Be Patient During Fermentation
Allow the yogurt to incubate without moving or stirring it. The longer it ferments, the thicker and tangier it will become.
Keep a Consistent Temperature
Maintaining a warm temperature around 110°F (43°C) is essential for successful fermentation. A yogurt maker, oven with the light on, or insulated cooler all work well.
Refrigerate Before Serving
Always chill the yogurt for several hours before eating. This helps it fully set and develop its creamy consistency.
Save Some for Your Next Batch
Reserve a few tablespoons of your homemade yogurt as the starter for your next batch. For the strongest cultures, use it within 5 to 7 days.
Variations
Greek Yogurt
Strain the finished yogurt through cheesecloth for several hours to remove excess whey and create a thick, creamy Greek-style yogurt.
Vanilla Yogurt
Stir vanilla extract into the chilled yogurt for a naturally sweet aroma and flavor.
Honey Yogurt
Drizzle honey over individual servings just before eating for natural sweetness.
Berry Yogurt
Top the yogurt with fresh strawberries, blueberries, raspberries, or blackberries for a colorful breakfast or snack.
Tropical Yogurt
Add diced mango, pineapple, kiwi, or coconut flakes for a refreshing tropical twist.
Cinnamon Maple Yogurt
Mix in a little maple syrup and a sprinkle of ground cinnamon after chilling for a warm, comforting flavor.
Storage
Store homemade yogurt in an airtight container in the refrigerator for up to 7 to 10 days.
Avoid leaving it at room temperature for extended periods after fermentation.
If liquid whey separates during storage, simply stir it back into the yogurt before serving.
For the best results, reserve a few tablespoons from a fresh batch within the first week to use as the starter for your next homemade yogurt.
Frequently Asked Questions
Why didn’t my homemade yogurt thicken?
The most common reasons are using a starter without live active cultures, adding the starter while the milk was still too hot, or not keeping the yogurt warm enough during fermentation. Make sure the milk cools to about 110–115°F (43–46°C) before adding the starter.
How long should homemade yogurt ferment?
Most homemade yogurt needs 6 to 12 hours to ferment. A shorter fermentation produces a milder flavor, while a longer fermentation creates a tangier and slightly thicker yogurt.
Can I make yogurt without a yogurt maker?
Absolutely! You can incubate the yogurt in an oven with the light on, an insulated cooler, an Instant Pot with a yogurt setting, or wrapped in towels in a warm place.
Can I use low-fat or skim milk?
Yes. However, whole milk produces the creamiest and richest yogurt. Low-fat and skim milk will result in a thinner texture unless you add a little milk powder or strain the finished yogurt.
Can I freeze homemade yogurt?
Yes. Homemade yogurt can be frozen for up to 2 months. The texture may become slightly grainy after thawing, but it’s still excellent for smoothies, baking, and cooking.
Why is there liquid on top of my yogurt?
The liquid is called whey, and it’s completely normal. Simply stir it back into the yogurt for a creamier consistency or pour it off if you prefer a thicker yogurt.
Can I reuse homemade yogurt as a starter?
Yes. Save a few tablespoons from a fresh batch and use it as the starter for your next batch. For the best results, reuse it for about 3–5 batches before starting again with a fresh store-bought yogurt containing live cultures.
Is homemade yogurt healthier than store-bought yogurt?
Homemade yogurt often contains fewer additives, preservatives, and added sugars, allowing you to control exactly what goes into each batch. It’s a wholesome, versatile option for breakfasts, snacks, smoothies, and cooking.
Conclusion
Making your own yogurt at home is easier than you might think, and the results are incredibly rewarding. With just a couple of simple ingredients and a little patience, you’ll have a creamy, fresh, and delicious yogurt that’s far superior to many store-bought varieties.
Whether you enjoy it plain, topped with fresh fruit and granola, blended into smoothies, or used in your favorite recipes, homemade yogurt is a versatile staple you’ll reach for again and again. Once you discover how simple the process is, you’ll wonder why you didn’t start making it sooner. This easy Homemade Yogurt Recipe is one you’ll be proud to prepare week after week for yourself and your family.
Recipe Card
Homemade Yogurt Recipe – Thick, Creamy and Easy to Make
Learn how to make rich, thick, and creamy homemade yogurt with just two simple ingredients. This foolproof recipe creates delicious yogurt that’s perfect for breakfast, snacks, smoothies, or your favorite recipes.
Ingredients
- 8 cups (2 liters) whole milk
- 2 tablespoons plain yogurt with live active cultures
- Optional: 2–3 tablespoons powdered milk (for thicker yogurt)
Instructions
- Pour the milk into a large saucepan and slowly heat it over medium heat until it reaches 180°F (82°C). Stir occasionally to prevent scorching.
- Remove the saucepan from the heat and allow the milk to cool to 110–115°F (43–46°C).
- Place the plain yogurt in a small bowl and whisk in a few tablespoons of the warm milk until smooth.
- Stir the yogurt mixture back into the warm milk until fully combined.
- Cover the pot with a lid and keep it warm for 6–12 hours, depending on how tangy you like your yogurt.
- Once the yogurt has set, refrigerate for at least 4 hours before serving.
- For extra-thick Greek-style yogurt, strain it through cheesecloth for 2–4 hours in the refrigerator.
- Serve plain or with fresh fruit, honey, granola, or your favorite toppings.
Prep Time: 15 minutes
Cook Time: 20 minutes
Incubation Time: 6–12 hours
Chilling Time: 4 hours
Total Time: About 11 hours 35 minutes
Servings: 8
Course: Breakfast, Snack
Cuisine: International
 Lea recipes
Leave a comment